Leading
A lead isn’t simply the first card in a trick – it’s a declaration of intention. A strong lead creates momentum and often forces opponents into uncomfortable choices. To the contrary a poor lead can sometimes ruin an otherwise safe call.
Before you toss a card on the table you must consider: who made trump, how complementary your hand is to the trump suit, and whether your cards are best used to defend, take tricks yourself or, instead, allow your partner to snag a trick and take control.
Who Made Trump
Everything begins with the bid. If your team made trump your intention is winning tricks and your lead should always help your partner’s call succeed.
When your partner calls, lead as if your card is part of their plan. Often calls fail when the caller’s partner prematurely plays a strong card instead of allowing the caller to take the lead and play out their hand accordingly.
Now, when the opponents make trump your lead becomes a weapon. You are not necessarily obligated to take tricks immediately. Your utmost concern is preventing them from taking two points and, when possible, euchring (setting) them when you and your partner’s holdings are especially strong.
Sometimes the strongest defensive lead is an aggressive one that forces the caller to spend trump too soon. Also effective is a passive lead that can lull your opponent into discarding while your partner ruffs in for the win.
Your seat position (always relative to the dealer) dictates how bold your lead may be. Seat 1 (S1) sets the tone and sometimes sees the dealer short in the led suit or, with luck, catches their doubleton.
Seats 2 and 3 (S2, S3) must calculate their response with what is already known. They can ruin an otherwise solid call by ignoring previously revealed information.
Remember: the dealer has final eyes on the first trick and often holds the sharpest tool of all – the knowledge of what was thrown away.
Short and Long Suits
The trump suit always contains seven cards because it absorbs the J of the Next suit and promotes it to the L. The Next suit, which shares the same color as trump, contains only five cards. The two green suits contain six cards each. This creates a predictable pattern: seven, six, six, five.
Green suits are the longest. Next is the shortest. A lead in Next is always more likely to be trumped because fewer cards remain for opponents to follow.
This is also true for the turned down suit. It has one fewer card available because the dealer rejected it, and the most common reason for that rejection is that the dealer held none and wanted to avoid being trapped into taking it. When a player leads the suit that was turned down, the dealer is more likely than average to trump in immediately. This is why leading the turned down suit as an opening lead is one of the most common errors in euchre.
A green A is generally safer than a Next A on defense because more cards remain in the green suits. A Next A is much more vulnerable to being trumped unless a round of trump has already been played.
Understanding suit length is also essential when promoting cards. A doubleton in a long suit can often be promoted by leading the lower card to draw out an opposing A, whereas a doubleton in Next is far less likely to survive the hand.
Singletons, Doubletons, and Tripletons
Your suit distribution matters because it determines which tricks can be created later. A singleton lead is one of the most powerful tools in defensive play. Leading a single green A is ideal because there are five other cards in that suit. Opponents are more likely to follow and less likely to trump in. A singleton lead also creates a void immediately. If that suit appears later, you are positioned to trump in.
A Next singleton is far more dangerous because only four cards remain in that suit. It is much more likely that the caller or the dealer is void and ready to trump.
Doubletons are useful for promotion. If you hold a K9 in a green suit, you may lead the 9, hoping to draw out the A. If you regain the lead later, your K may become the highest remaining card. This only matters if trump will eventually be gone, so doubleton promotion is mainly a defensive technique used when you have no trump or when you are unlikely to win early tricks.
When you hold connected doubletons such as KQ, always lead the higher card. If you lead the lower, your partner is forced to guess whether you are winning or losing the trick. False carding your partner by leading low from a powerful combination gives them incorrect information and can cause them to waste an A unnecessarily. This is rarely effective strategy in a partnership.
Tripletons behave like long suits. When you know you will regain the lead again, leading from your long suit allows you to attempt to establish control in that suit. However, an A from a tripleton is usually poor on offense because it is very likely to be trumped.
Short suits are often the source of intentional void creation, while long suits are the source of promotion opportunities and late hand control.
Offensive Leads
When your team makes trump, your first goal is to establish control. Correct trump leads strengthen your partner, promote your own winners, and prevent opponents from using singleton trump to destroy your As later. If your partner calls and you hold a bower, you should lead it immediately so they know exactly where it is. If you have no bowers, a strong trump lead is usually correct. If you have no trump after your partner calls, the most honest lead is your best A, which is a green A in your shortest suit. This tells your partner you cannot help in trump and must contribute through As.
When you make the call and hold solid trump, you should lead trump. Calling trump implies strength in that suit, and the trump lead confirms it. A trump lead promotes your remaining trump and protects your off-suit As. However, if you called thin, a trump lead can strip your partner of the only trump they have, so the better opening lead is a quiet off-suit card that invites your partner to take a trick. This shows that you need support.
On offense you aim to take at least three tricks and avoid being euchred, and most failures come from avoiding trump leads. If you hold the R or the L and your team made trump, you should lead it at your first chance unless you hold both bowers. With both bowers, lead only the R. You should not drain all your trump if doing so strips your partner and leaves opponents holding boss As. Lead one round to weaken opposing trump, then allow your partner’s As to take their tricks.
Leading From Next Calls
Next calls follow a different rule. When you call Next with the R and one extra trump, the correct lead is the smaller trump, not the R. Next works because both opponents are likely weak in that colour while both you and your partner are likely strong. Each of you may be holding a bower. If you lead the R and your partner’s only trump is the L, you have immediately reduced your partnership strength because the hand relies on both bowers functioning together.
The two general strategies for playing S1R2 Next calls depend largely on your hand, but you should always keep the turned-down card and score in mind. The strategies are, “to lead, or not to lead”. That is, do you lead trump, or do you lead off. How do you decide? I like to think of it as a decision tree, or a set of rules (though remember, in Euchre, the only absolute is that there are no absolutes). The choice between leading trump or an off-suit comes down to visualizing how your hand can create a path to points.
- Leading trump. If the strength of your hand lies in off-A’s, then leading trump may be the way to go. For example, in the kamikaze (calling Next with Qt – queen of trump – and two off-A’s). Here, you are hoping your partner has at least the R, if not both bowers. Even if they don’t, leading trump allows you to pull some trump from your opponents, further strengthening your two A’s. Between that and a little help from your partner and/or the Euchre gods, you should be able to make your points. However, like most things in Euchre, this rule comes with a few side rules of its own.
- You never (don’t forget the Euchre absolute) want to lead an off-A without sucking out some trump first (except if you called with no trump and only A’s/boss cards).
- Avoid leading the R on Next calls, unless you have a very strong hand. Even though leading the R will strengthen your boss cards, remember why you called Next: you are assuming it is more likely that the jacks are in either your hand, your partner’s hand, or the kitty. Thus, if you lead the R, you could end up taking an unprotected L from your partner.
- The exception here is that you want to lead the R if you called on just the R with off-A’s, because in this case, there isn’t a viable way to regain the lead without your partner’s help.
- However, if you have Rx and an off-A, you can lead off to give your partner a chance to take a trick. If they can’t, you can still take a trick with your x trump, then pull trump with the R, followed by your ace/boss.
- Leading off. If your hand relies on using trump to take tricks, you don’t want to lead trump. You want to lead off to give our partner a chance to help, especially if you don’t have any bowers. While they are likely (hopefully) in your partner’s hand, you want to maximize your team’s ability to trump in on non-trump-led tricks. You also may want to lead off IF:
- You have a strong hand but need help from your partner for the march. For example, having [RA9 + 2 off-9’s]. You want to lead one of your 9’s (not the turned-down suit) in the hopes that your partner can take the trick. You need help, so don’t start the hand by taking their trump, especially when you have no A’s.
- You have a doubleton and you need to promote the higher card. For example, you have [LKt + 1 off-A + off-KQ]. You don’t want to lead your off-A without making it stronger first. You also don’t want to lead trump, because that could leave you vulnerable. That leaves you with the KQ doubleton: lead off, in this case, to give your partner a chance to help you out. The worst outcome is you lose a trick, but promote your Q to boss while gaining information about everyone else’s hand.
- Lead the K in this situation so your partner doesn’t waste their ace on your Q.
Positional Consideration
Seat expectations also shape correct leading. S1 callers almost always lead trump, because leading an A from your own call is unlikely to succeed before trump has been drawn. S3 callers depend heavily on their partner in S1 to lead trump, because S3 is the weakest seat from which to call. When S3 orders the dealer, a trump lead from S1 is mandatory, and most S3 calls rely on the assumption that their partner will lead the R or the L immediately. When your partner calls from S4, you should lead your best A if you have one. Your best A is the A in the suit with the most cards still unseen. If you do not have an A, leading your longest suit may force trump from opponents or strike your partner’s void.
Defensive Leads
When the opponents call, your objective is to prevent them from taking two points and, ideally, to force a euchre. Defense usually begins with an off-suit A if you have a singleton or doubleton A in a green suit.
Defense often requires patience. You do not need to take tricks immediately. You need to force the caller to spend trump early.
A small off-suit lead (especially when green) on defense carries many advantages:
- Your opponents have more trump than you, so you have to try to take tricks with your off-suits. Your partner might have the boss in your off-suit lead, and both opponents may also have cards this suit.
- Leading a singleton creates a void in your hand. If the opponents have this suit in their hands, you’re giving yourself an opportunity to trump in on a later trick.
- Off-suit leads can force your opponents to waste trump.
- If the off-suit is green, there’s an even greater chance the opponents will have it.
Conversely, leading trump on defense is rarely correct for newer players and should generally be avoided. However, there are rare but powerful exceptions when defensive trump leads are correct. If you hold multiple high trump and you believe the maker holds only one, leading trump can strip them immediately and leave your high trump as the controlling cards.
The Buckeye Blindside
One of the most common defensive trump leads is called the Buckeye Blindside. This is a war tactic in which S1 leads trump defensively, exclusively used when S2 ordered up a non-bower trump into their dealer partner’s hand. The goal is to pull high trump from the S2 caller (and their partner). This tactic works especially well when:
- You have at least two trump cards, one of which is high, or you have at least one green A.
- The S2 caller is known to call thin.
Suppose S2 ordered up the Q to their dealer partner, and they hold the L and the K. They do not know where the R or the A are. Now you come in and lead your 10 of trump. The S2 caller must make a decision. Do they play their K, and potentially lose the trick to S3, who may be holding the A or the R? Or do they play their L, and still potentially lose it to the R, but also potentially win the trick if S3 only has the A? If your partner has the R and S2 decides to play their L, you now have the boss trump card (the A, which is the reason you led trump here). With their Euchre imminent, you can freely play the rest of your cards calmly and collectedly while they consider the error of their ways.
It is important to remember too that this tactic will also bleed trump from your partner. In my experience, it is most often an unprotected L. Partners tend to get a little testy when this happens, so use the strategy wisely and be aware of the potential consequences.
Double Leading
Double leading is one of the most misunderstood tools in euchre. Many players misuse it, especially beginners, who often lead the same suit twice without purpose. However, when executed at the right time, double leading can be a decisive advanced play.
Positional Consideration
You should generally avoid double leading from seat two because you act after the caller and before your partner, which is rarely advantageous. Double leading from seat one is often correct if seat four picked up and you hit their void on the first lead. Double leading from seat three is often correct if seat four called and you hit their void.
Double Leading Green On Defense
Double leading is not a weak play. Used at the right time, it becomes one of the best ways to exploit the way Euchre hands are shaped. Suppose you are in S1, and the dealer made trump. You hold a green AK doubleton. If you lead the A and see that both opponents follow the suit while your partner is void, you should lead the K next. Your LHO (S2) will either be void, in which case they should either trump in or throw off, or they will have another card in that suit and have to follow suit. If they trump in, your partner gets the opportunity to overtrump them. If they throw off, your partner gets the opportunity to trump in and take the trick. Recall that if the dealer picked up, they had the opportunity to short-suit themselves, so they are the most likely to be holding at least two cards in that suit. If your partner trumps in, or overtrumps your LHO, they will likely win the trick.
Double leading is an information-based play meant to exploit voids discovered from the first trick.
Double Leading Green On Offense
Now, suppose instead that the Jc was turned up, and you, the dealer, picked it up.
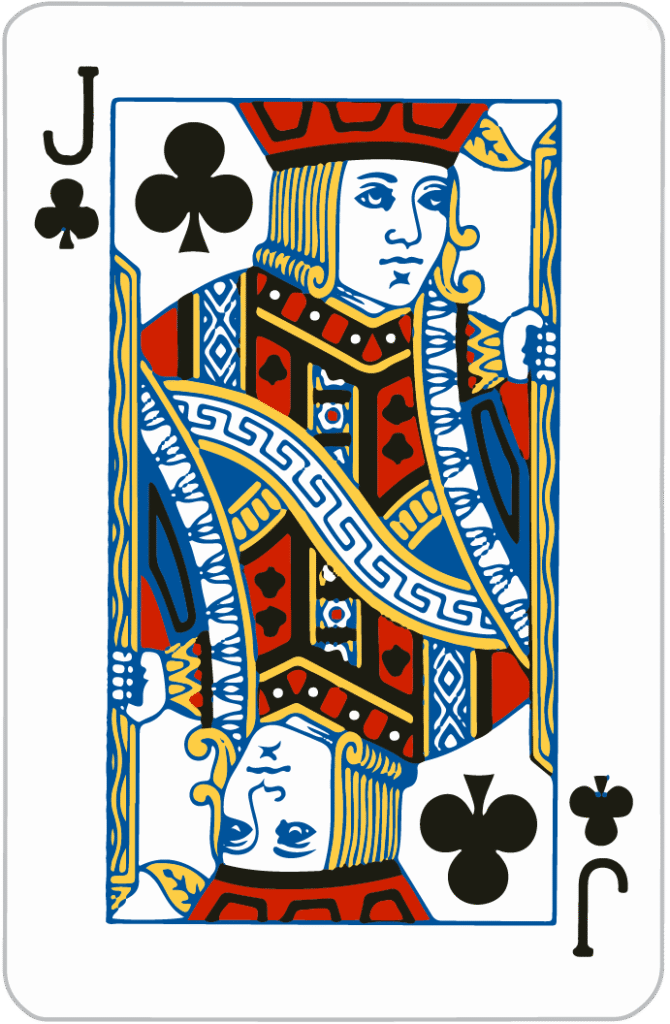
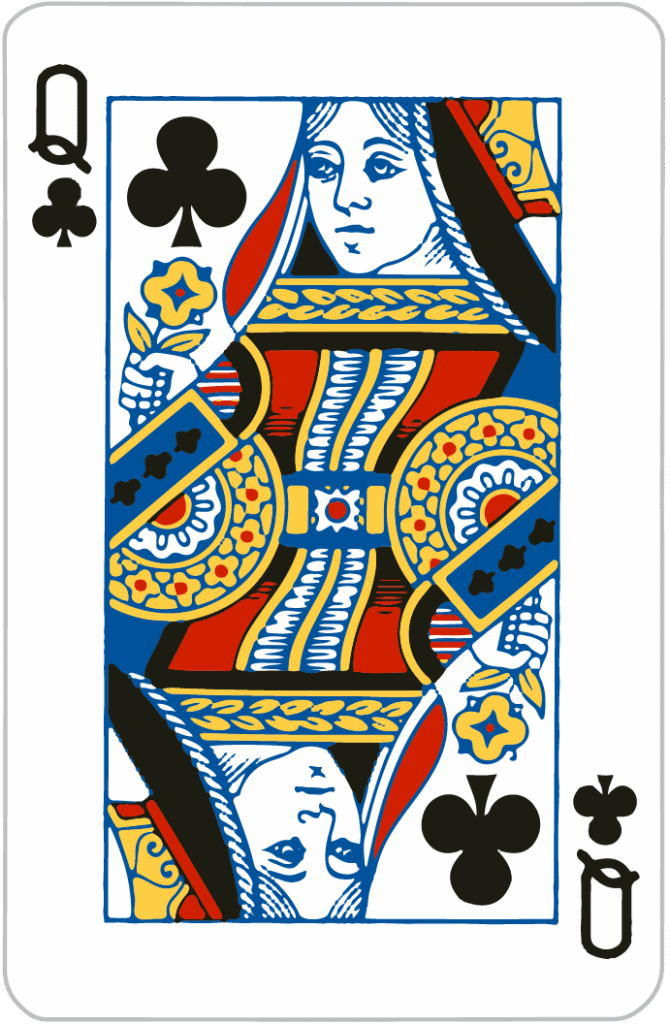
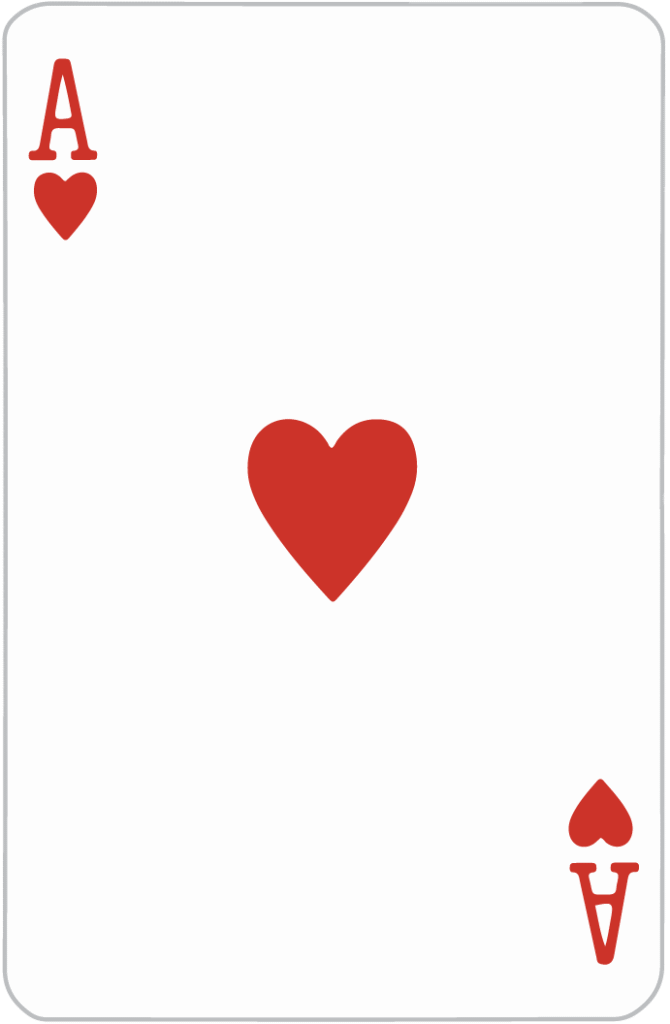
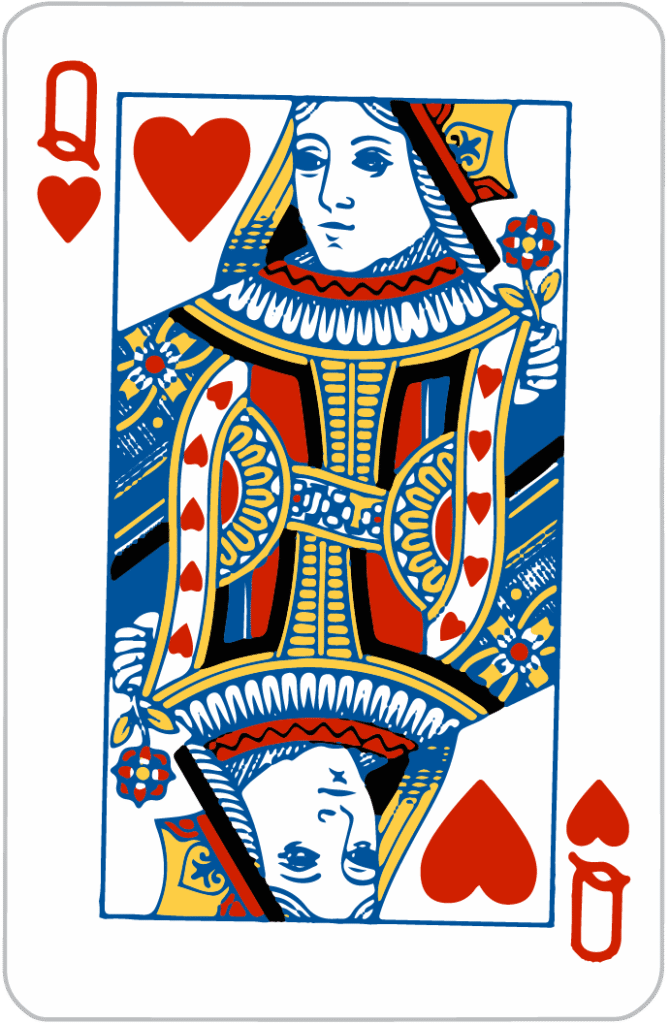
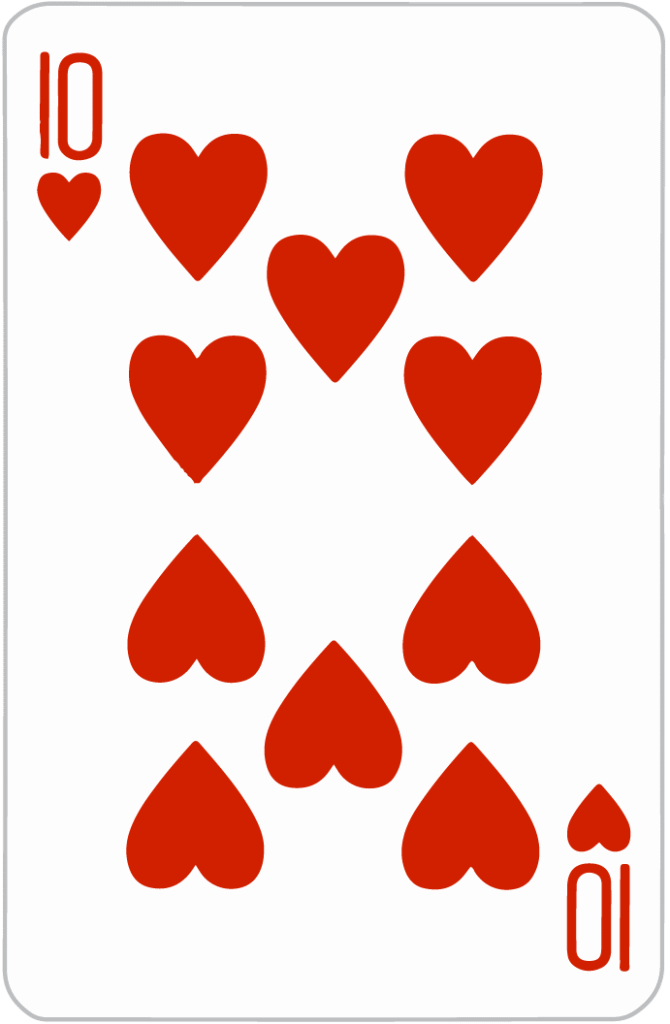
Seat 1 leads 10♢, and your partner takes it with the A♢. Your partner, thinking you can certainly trump in since you’re void in diamonds, sends back the 9♢. But Seat 3 is also now void in diamonds, and they play the 10♧. Here, to maintain control of the hand, you’re forced to play your Q♧, while praying Seat 1 is either not void in diamonds, or doesn’t have a higher trump card. Unfortunately, they have the A♧, and they take the trick. This leaves you with only the J♧ and AQ♡. Your partner set you up here to be overtrumped.
A better alternative here is to send your partner your lowest trump, knowing they have the R. If you have no trump, then you should send them a clean suit, hoping they are void or hold the boss.
Double Leading Trump on Offense
Double leading can also lead to disaster. Suppose your partner in Seat 1 made trump and they led a low trump. You take it with the R, and then lead back trump again, thinking they can take it. Communication with your partner is an extremely important aspect of Euchre, and it is covered extensively in its own section. It’s important to always be aware of what your partner is leading and why. If they called trump and led a low trump, they’re fishing for higher cards while trying to pull as much trump as they can from the table. This either means they have a strong hand and just wanted to find the R, or it can mean they called thin. More often than not, leading low means they called thin. If they called thin and you lead trump back to them, you may be stripping all remaining trump from their hand. And worse, if an opponent had the L protected, you’ll now have stripped two trump from your partnership’s hand and the opponent will have won the trick. One of the best practices when trying to march is to instead lead back the suit your partner is least likely to have – your longest suit. Alternatively, lead back any As you have, this way your partner can discard and strengthen their hand.
The Fourth Trick
The fourth trick is often the moment that decides whether a team earns a single point, secures a march, or accidentally euchres itself. Many players misplay it because they assume that leading trump late in the hand is always strong. In reality, the value of a fourth trick trump lead depends on the score of the hand, the remaining trump, and whether you are on offense or defense.
On Offense
When you already have three tricks and are hoping for a march, leading trump on the fourth trick usually destroys your chances. By this stage of the hand, you and your partner are each likely holding only one trump at most. If you lead a low trump, your partner is forced to win the trick, but their final card may not be a winner, which hands the opponents the fifth trick and loses the march. If your trump is higher, you take the fourth trick yourself, but if your last card is not a winner, you still lose the final trick. The only time a fourth trick trump lead is correct on offense is when you know your trump is the highest remaining card and you also hold a certain winner behind it. Only that combination protects the march.
On Defense
Defense behaves differently but in only one specific situation. When your team trails two tricks to one, you must lead trump if you have it. If you fail to do so, the opponents will use their trump separately and secure their point. A sacrificial trump lead is often the only way to force the opponents’ trump to fall together on the same trick. This is how defense occasionally rescues a point that would otherwise be certain.
The only time this could fail is when both you and your partner hold the highest two remaining trump and share no off-suits. Even then, the chance of losing control is small compared to the near certainty of losing the hand if trump is not led.
The Difference
Offense preserves trump so that both partners can apply pressure on separate tricks. Defense condenses trump so that opposing strength collapses on a single trick. The fourth trick is not about being aggressive or cautious. It is about knowing when trump must stay separated and when it must be sacrificed. Players who treat all fourth trick leads the same way lose more points than they should and rarely understand why.
Case Studies
Let’s look at examples of specific hands from specific seats, and how to play them.
- 3 trump 2-suited, S1
- 3 trump 2-suited, any other seat
- 2 trump 3-suited, S1
- 2 trump 3-suited, any other seat
- Holding RXX+AX
- RX+XXX (take the first trick with he R, then lead off. do not immediately play the R)
Cardinal sins
- never lead the turned-down suit
- never lead your aces before trump
- always lead trump to your partner in third seat. if you can’t, send them an ace.
